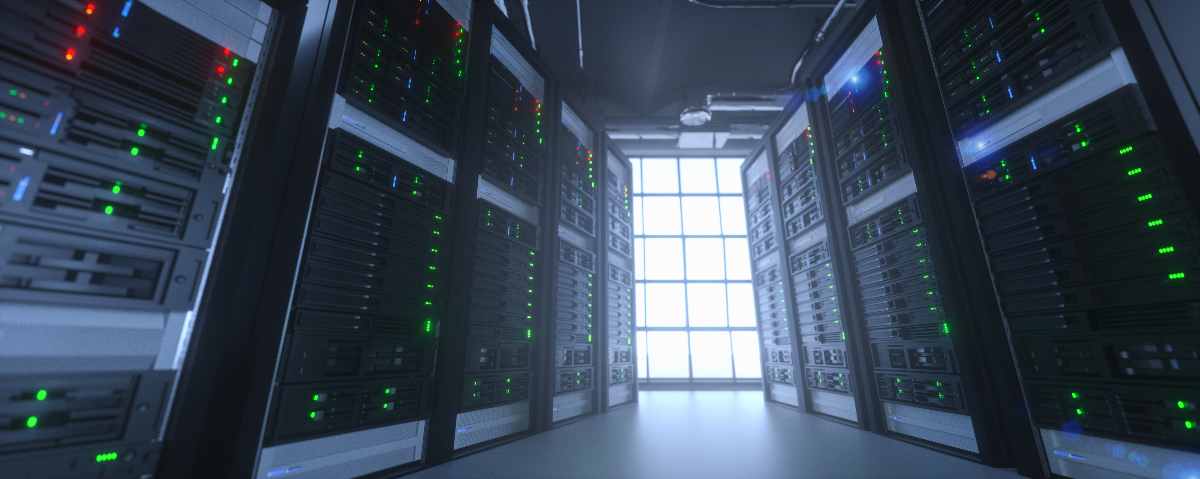
Home Data centers are the logical place to house your organization’s computing and storage resources. In today’s digital world, most companies need their own private cloud to handle peak workloads and business-specific needs. A home data center is a secure location where you can house servers, workstations, virtual machines (VMs), storage arrays, backup servers, and more.
Most organizations don’t have a dedicated space for their computer equipment. That’s where a home data center comes in!
Thanks to rapidly falling costs and open-source software like virtualization and containerization technologies, you can start a data center at home at little to no cost. In this article, we will explain everything you need to know about setting up your own home data center, from the advantages of starting one at home to potential pitfalls that you must watch out for.
Data centers are a great way to store and process your data. However, they can be expensive to set up and maintain. In this post, we will show you how to start a home data center on a budget.
Many organizations, such as those in the financial sector and healthcare, have to meet strict compliance standards. These regulations require that data centers be secured with a physical perimeter fence and appropriate technology monitoring.
In addition, if you are working with sensitive customer information, you must consider the security implications of your data centers as well.
Request access to industry-leading consulting services that help organizations get their business up and running.


1: Choose the Right Location for your Home Data Center
The first step is to choose the right location for your data center. You will need to have a room in your home that is designated as the data center. Ideally, the room should be well-ventilated and free from dust. It should also be large enough to accommodate all of your computing equipment.
Once you have identified the right room for your data center, you will need to configure it. This includes ensuring that the room is properly cooled and ventilated as well as setting up any security measures you need. You will also want to make sure that the room has a reliable power source.
2: Get Connected
One of the first steps in starting your data center is to get your networking equipment set up. You need to ensure that you can access the servers and connect them to the internet. This will allow you to install software updates on your servers, monitor their performance, and back them up. Connecting servers is also a good idea because you may want to add new servers over time as your needs grow.
The next step is connecting storage devices like hard drives or SSDs. For example, if you already have an existing server with a bunch of disks in a RAID configuration, it’s easy to just add another disk. We recommend using iSCSI for this purpose because it’s easier than dealing with Fibre Channel or SAS, which are typically more expensive and require more time for configuration.
A few other disk types we recommend for home data centers are SATA, NAS (Network Attached Storage), NVMe (Non-Volatile Memory Express), and SSDs. If you want high-performance storage arrays at home, we recommend opting for something like an array from EMC or NetApp that can handle high I/O throughput without significant CPU utilization.
3: Install Your Equipment
Here’s a checklist for what you need to get started with your home data center:
– Computers and servers
– Networking equipment
– Storage devices
– Power supplies
– Fans/heatsinks
– Software (OS, virtualization, cloud providers, etc.)
4: Set Up Your Network
The first step to setting up your home data center is to configure your network. You will want to ensure that you have a strong, reliable, and redundant network as you are working to create a private cloud.
If your internet connection is unreliable or slow, it could jeopardize the reliability of your virtual machines. The next step is to set up a storage area network (SAN). You will need this first in order to start hosting VMs and setting up the software-defined networking (SDN) that you’ll use later on.
Your SAN should be configured with hardware RAID controllers and an enclosure for your servers and storage devices. You’ll also want to consider adding a NAS if you need an accessible and secure storage solution.
Finally, you can set up your virtualization platform. This will let you create, manage, and run VMs on the same hardware. We recommend using a platform like VMware vSphere or Microsoft Hyper-V.
5: Add Storage Space
Your data center needs to have enough storage space to handle the number of VMs, servers, and other disk-based devices you will be storing.
Storage is one of the most important parts of a data center setup. If your data center isn’t backed up, you could lose all your important information in a blackout or natural disaster.
As a general rule of thumb, plan on having at least five times as much storage space as physical RAM for every server and VM in your data center.
For example, if you have four servers with 1TB RAM and storage needs of 5TB per server, then you will need ten 4TB drives. This will help ensure that you have plenty of room for backups, snapshots, snapshots from backup windows, and more.
6: Install Software
If you’re the type of person who enjoys the process of learning about technology and tinkering with it, then you can install the software yourself. A home data center will require some software to run. For example, one of the popular software packages for setting up a home data center is an open-source VMware Workstation.
If you don’t want to tinker, then your data center may be set up by someone else–or at least managed by a professional. This is a common approach, as some companies hire IT, teams, to manage their private clouds and ensure they’re secure and reliable.
The other option is to use cloud infrastructure services that are offered by companies such as Amazon Web Services (AWS). You get access to powerful computing infrastructure in the cloud with little or no investment in hardware or software on your end!
7: Invest in Security
When it comes to setting up your own home data center, security should be one of your top priorities. Make sure you have solid firewalls, antivirus protection, and intrusion detection systems in place.
Your data center should also be kept up to date with the latest security patches and upgrades. You should also consider encrypting your data, especially if you are dealing with sensitive information, using encryption algorithms like AES or SHA-256.
Finally, you should invest in malware scanners and two-factor authentication for extra security. This will help protect your data from any malicious actors who may try to gain access.
By following these tips and taking the necessary security precautions, you can ensure that your data center is secure and protected.
These are just a few of the steps you should take when setting up your own home data center. With the right planning and implementation, you can have a secure and efficient data center that meets all of your needs
8: Test Out Your New Home Data Center
In a Virtual World, It’s essential to test your new data center before you put everything into production. You can do this by running it in a virtual environment, which will help you get a better idea of what the data center will be like when you have to start putting servers and storage arrays in there.
You can use tools like VMware and Hyper-V, or even Docker to set up your home data center in the cloud. This will give you a good idea of what it’ll be like when you start using the actual hardware.
Testing your data center is essential for the reliability and performance of your systems. It’s important to ensure that everything is running properly before you start to deploy any applications or services in your home data center.
9: Monitor Your Home Data Center
The final step in setting up your data center is to monitor it. This includes ensuring that all of your devices are operating properly, as well as looking out for any security threats or outages.
You can use tools like Nagios or OpenNMS to monitor your servers, as well as virtualization platforms like vCenter or Hyper-V Manager. Additionally, you may want to consider setting up a service like Cloudflare for additional security and performance monitoring.
Finally, you will want to back up your data on a regular basis. This ensures that if something happens to your server or storage array, you will still have access to your data. We recommend using a cloud service like Amazon S3 or Google Cloud Storage for offsite backups.
And that’s it! Setting up your own home data center is a great way to get started with your own private cloud. With the right equipment and software, you can start managing and running virtual machines in no time. Good luck!
Conclusion
Setting up a data center for your home is an exciting project that will give you the ability to have a secure, reliable, and private cloud that you can use for running applications or services. There are many different steps involved in the process of setting up a data center, from figuring out your network needs to adding storage space and installing software.
It’s essential to test out your data center before you put it into production, in order to ensure that everything is running optimally. Once your home data center is set up, you can start hosting your own applications and services or take advantage of the cloud infrastructure services offered by companies such as AWS.
Good luck in your data center journey!


